
Not too long ago, creating a video meant investing in expensive cameras, microphones, lighting, editing software, and hours of shooting and editing. Today, all you need is a simple idea, and AI can do the rest.
AI-powered tools now let anyone transform a concept into a polished, professional-looking video without filming a single frame.
Whether you’re a business owner who wants to create marketing videos, a content creator looking to grow on YouTube or TikTok, or just someone curious about experimenting, the barrier to entry has never been lower.
Let’s go through exactly how to turn a raw idea into a full video using only AI tools, from brainstorming and scripting to visuals, voiceovers, music, and editing.
By the end, you’ll know how to go from “I have an idea” to “I just published a finished video” in hours, not weeks.
Step 1: Brainstorming and Structuring Your Idea
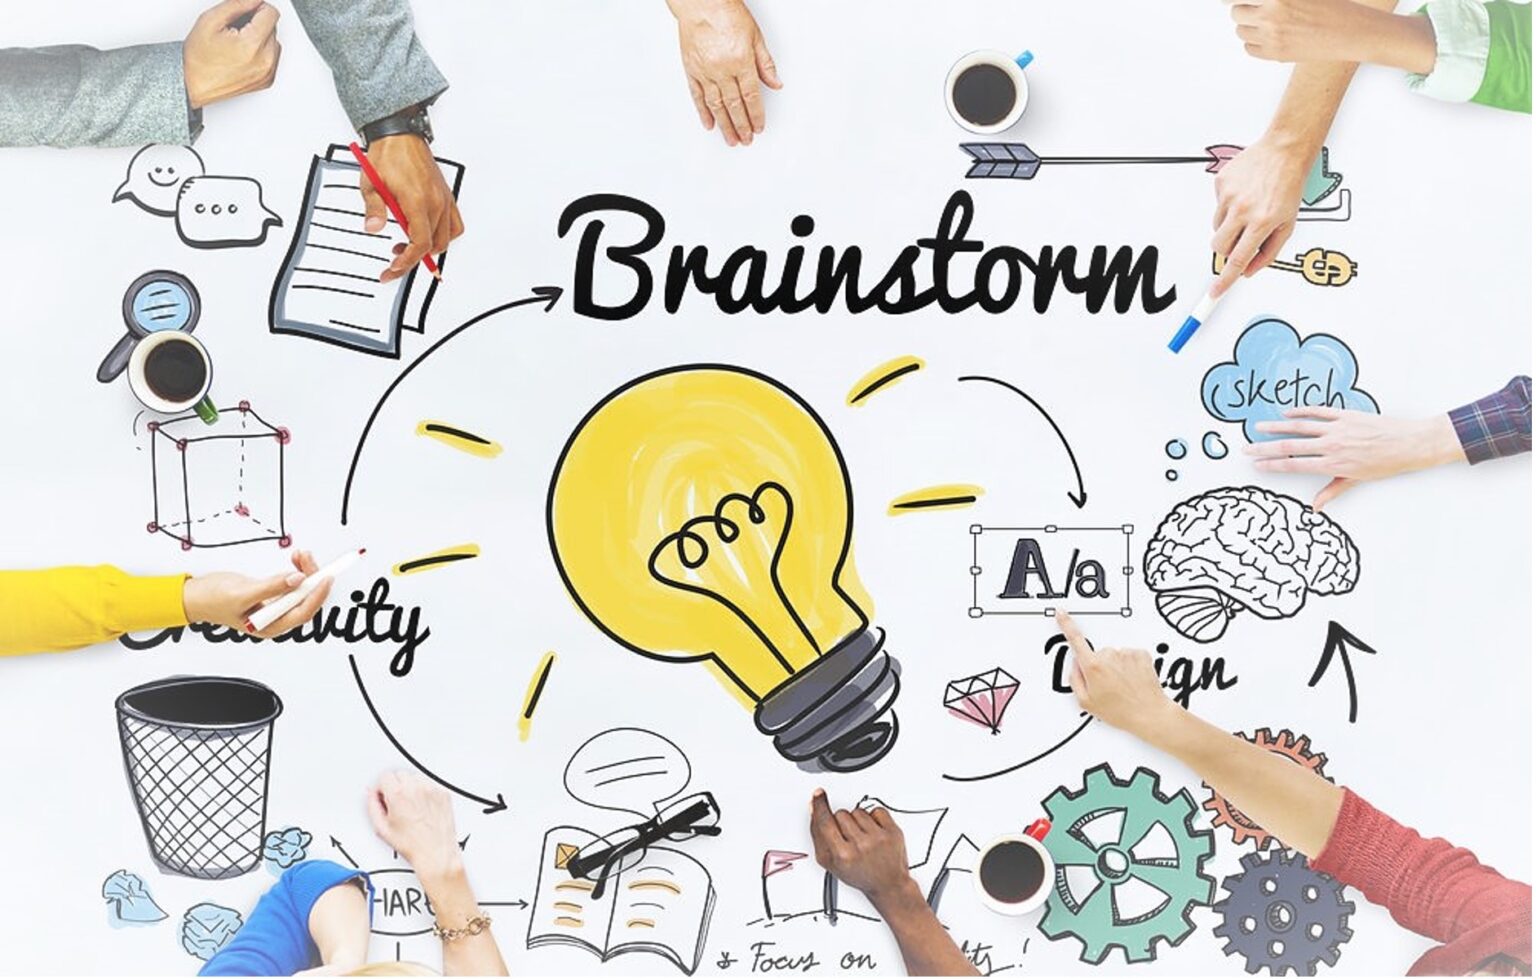
Every great video starts with a strong idea. The problem is, most people stop at the “spark” stage, because turning that spark into a clear, structured concept feels overwhelming. That’s exactly where AI can step in and make the process easier.
How to Brainstorm with AI
Tools like ChatGPT, Jasper, or Notion AI are like having a creative partner on demand. You don’t need to sit staring at a blank page, just feed the AI your rough idea, and it will help you polish it into a structured plan.
For example, type something like:
“Help me turn the idea of ‘How to Save $500 a Month’ into a YouTube video outline.”
Within seconds, AI can give you:
- A catchy video title that’s optimized for clicks.
- A scene-by-scene breakdown so you’re never stuck wondering what comes next.
- Hook ideas to grab attention in the first 5 seconds (crucial for retention).
Think of it as a creative jumpstart, you still guide the process, but AI gives you the bones to build on.
Structuring Your Idea
Once you have your outline, it’s time to break it down into scenes or segments. This makes your video flow naturally and keeps your audience engaged. Here’s a simple framework:
- Scene 1: Hook – A bold statement or surprising fact that tells viewers why this video matters.
- Scene 2: Explanation – Introduce your main idea in a simple, clear way.
- Scene 3: Examples – Use visuals, comparisons, or stories to make it relatable.
- Scene 4: Takeaway – Summarize the most important points so they stick.
- Scene 5: Call to Action – Encourage the next step (subscribe, like, comment, visit your site, etc.).
Always shape your video around your target audience. If you’re speaking to busy professionals, keep it short and snappy.
If you’re targeting students, you might add humor and relatable examples. If your audience is business owners, focus on efficiency and practical strategies.
The way you structure should always fit the attention span and needs of the people watching.
Step 2: Writing a Script with AI
Your script is the backbone of your video, it’s what keeps your viewers engaged from start to finish. But staring at a blank page can feel intimidating. That’s where AI shines, it gives you a strong starting point so you’re never stuck.
Tools to Try
- ChatGPT – Perfect for long-form educational or explainer videos. It can outline your main points, suggest examples, and even generate scene transitions.
- Copy.ai – Best for short, punchy, and marketing-driven content. Great if you want hooks that grab attention in the first 3 seconds.
- Writesonic – Ideal for ad scripts or persuasive content where you need a clear call-to-action.
Take for example, your raw idea is “Healthy morning routines.”
AI Script Output:
“Imagine starting your day with more energy and focus, without coffee. In this video, I’ll show you 3 science-backed morning habits that boost productivity…”
Notice how AI instantly adds:
- A hook that grabs attention (“more energy and focus, without coffee”)
- A promise of value (3 science-backed habits)
- A smooth flow that keeps the audience curious
- From there, you can tweak the tone: make it professional for LinkedIn, casual for YouTube, or even funny for TikTok.
Keep your scripts conversational. Write like you’re speaking to one person, not a crowd. This makes your video feel more personal and keeps viewers watching longer.
ALSO READ: How To Build and Deploy a Website With AI (Step-by-Step Guide)
Step 3: Creating a Voiceover with AI
Once your script is ready, the next step is giving it a voice that connects with your audience. In the past, this meant hiring voice actors, setting up recording equipment, or nervously recording yourself over and over until it sounded right.
But thanks to AI, you can now generate studio-quality, natural-sounding voiceovers in seconds, no expensive mics or soundproof rooms required.
Best AI Voice Generators
Some of the best AI voice generators out there are:
- Murf.ai – A go-to tool for professional projects. It offers realistic voices in multiple accents and tones, making it great for business or educational content.
- ElevenLabs – Famous for its ultra-natural voices that often fool people into thinking it’s a real person speaking. Perfect if you want that human touch.
- Play.ht – Not only creates high-quality voiceovers but also allows you to clone your own voice, so your content can still feel personal and authentic.
Choosing the Right Voice
Your choice of voice sets the mood for your entire video. Here’s a quick guide:
- For business or corporate videos: Go with a clear, steady, and authoritative tone that communicates trust.
- For entertainment or social media: Pick something lively and energetic to keep your audience hooked.
- For personal content or vlogs: Cloning your own voice can make your content more relatable and genuine.
Don’t just focus on the voice itself, pay attention to pacing. Slow and steady works best for serious or educational topics, while a quicker, upbeat pace is ideal for energetic, social content. The rhythm of your narration should always match the mood of your video.
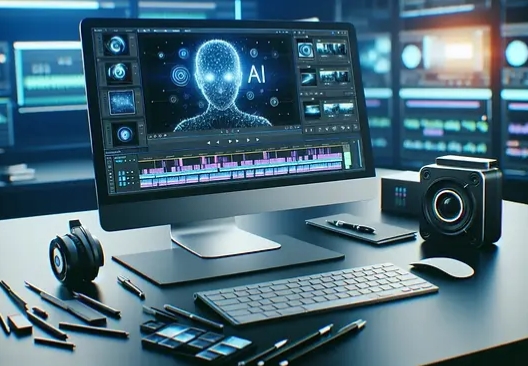
Step 4: Generating Visuals and Footage with AI
This is the step that brings your video to life, turning words and ideas into real, watchable visuals.
Instead of renting expensive gear, hiring a film crew, or spending hours shooting and editing, AI can now generate professional-looking footage in minutes.
AI Video Generators to Use

Nowadays there are many AI videos generators you can use, but with attention to what you want to create, here are some of the most recommended across different categories:
- Runway Gen-2 – A powerful text-to-video tool that transforms written prompts into short video clips. Perfect for cinematic shots, creative intros, or visuals that would be too expensive to film yourself.
- Pictory – Great for repurposing content. It can take a blog post, script, or long-form text and automatically cut it into bite-sized, engaging videos, ideal for social media.
- Synthesia – Known for its AI avatars. Upload your script, pick an avatar, and you’ll have a digital presenter reading your lines on camera, perfect for explainer videos or corporate training.
- Google Veo (Veo 3) – Google’s high-end AI video generator, designed for ultra-realistic video footage with detailed textures, lighting, and movements. It’s like having a film studio on demand.
Example Prompt for AI Videos Generators Like Runway Gen-2
“A young woman jogging through a city park at sunrise, cinematic lighting, ultra-realistic style.”
Result: A polished, professional-quality video clip you can drop straight into your project, no cameras, actors, or editing software required.
Don’t settle for the first result. AI visuals improve dramatically when you refine your prompts.
Add details like camera angles (“wide shot,” “close-up”), mood (“uplifting,” “dramatic”), or style (“anime,” “documentary”). The more specific you are, the better the output.
Step 5: Adding Music and Sound Effects
Great visuals and voiceovers are powerful, but without the right audio layer, your video can feel empty or unfinished.
Music sets the emotional tone, while sound effects add depth and realism that keep viewers engaged. Think of it as the invisible force that pulls everything together.
Best AI Music Tools
Of course your video would need a great sound to go with it and this guide would be incomplete if the sound is not AI generated as well. Here are some of the standard tools to use:
- Soundraw.io – Instantly generate unique, royalty-free tracks that fit your video length and mood. Perfect when you need background music that won’t sound generic.
- AIVA – Specializes in cinematic and orchestral pieces. Great for trailers, storytelling, or any project that needs that “big screen” vibe.
- Beatoven – Focuses on emotional resonance, creating background music tailored to specific moods like calm, upbeat, suspenseful, or energetic.
Why Adding The Right Music/Sound Matters
Imagine watching a motivational video with no music. The message is still there, but it feels flat and less inspiring.
Now, add a subtle upbeat track, suddenly, the words carry energy, the visuals feel alive, and the audience feels connected. That’s the magic of sound.
Always stick to royalty-free AI music. This keeps your content safe from copyright strikes on platforms like YouTube or Instagram, and ensures your video can actually stay online and earn revenue.
ALSO READ: Automate Your Small Business: AI Tools That Replace Expensive Software
Step 6: Editing and Polishing with AI
Even with amazing visuals, voiceovers, and music, your video isn’t ready until it gets that final polish. Editing is where everything comes together, the pacing, the look, and the flow.
The good news? AI-powered editing tools make this step faster, easier, and more beginner-friendly than ever.
Tools for Editing
Some of the best AI editing tools in the industry are:
- Descript – Edit video by editing the transcript, almost like working in Word. Delete filler words (“um,” “uh”) or even entire sentences with a click.
- Kapwing – A simple online editor packed with AI features like auto-subtitles, smart resizing for different platforms, and background removal.
- Wisecut – Perfect for quick edits. It automatically trims silences, adds subtitles, and even layers background music so your video feels polished without hours of manual work.
Editing Tasks to Do
The tasks needed to complete your video are quite simple most of the time. They include (but are not limited) to the following:
- Add captions – A must for TikTok, Instagram Reels, or YouTube Shorts, since many people watch without sound.
- Insert transitions – Smooth transitions keep your video professional and easy to follow.
- Brand your video – Include your logo, consistent colors, or a subtle watermark so your content looks cohesive and recognizable across platforms.
Don’t over-edit. A clean, simple style often feels more professional than loading your video with flashy effects. Let the message shine, and use edits to enhance, not distract.
Step 7: Exporting and Sharing Your Video
You’ve brainstormed, scripted, recorded, and edited, now comes the fun part, putting your video out into the world.
Exporting and sharing isn’t just about clicking “save”; it’s about making sure your content looks its best on every platform and reaches as many people as possible.
Choosing the Right Format
Every platform has its own “sweet spot” when it comes to video size and quality. Exporting correctly ensures your content looks polished everywhere:
- YouTube – Go with 16:9 landscape in HD (1080p) or 4K for maximum clarity.
- TikTok/Instagram Reels – Stick with vertical 9:16. Full-screen videos perform better here.
- Facebook/LinkedIn – Use square (1:1) or landscape depending on the audience and placement. Square often gets more engagement in feeds.
AI Tools for Distribution
Publishing is more than hitting upload. AI can help you optimize and repurpose your video for wider reach:
- Canva – Design eye-catching thumbnails that boost click-through rates.
- ChatGPT or Jasper – Write SEO-friendly titles, keyword-rich descriptions, and engaging captions that help your video rank higher and attract viewers.
- Lumen5 – Repurpose one video into multiple formats (long YouTube video → short TikTok clips → LinkedIn post), saving hours of manual editing.
Sharing Smarter, Not Harder
Don’t just post once and forget about it. A single video can live multiple lives, share it across platforms, cut highlights into bite-sized clips, and repackage it for different audiences.
The more touchpoints, the more visibility your content gets.
Conclusion
The beauty of AI is that it turns anyone into a creator. You don’t need expensive gear, a big team, or months of learning complex editing software. You only need:
- An idea.
- The right AI tools.
- A willingness to experiment.
With this step-by-step process, you can now take a thought in your head and turn it into a full, engaging video, sometimes in less than a day.
The future of content creation belongs to those who know how to leverage AI, but still add their human creativity.
So, what’s your first idea? Because now, you can bring it to life with nothing more than AI.