Think about the last time you visited a website and had a question. Did you scroll endlessly for an FAQ page, or did you head straight to that little chat bubble in the corner? Chances are, the chatbot was your first stop.
Today, chatbots are no longer just “nice-to-haves”, they’re becoming essential for websites, especially for businesses that want to engage visitors, answer questions instantly, and generate leads.
Here’s the good news: you don’t need to be a programmer or spend thousands hiring developers to add one to your site. Thanks to AI-powered no-code platforms, building a chatbot is as simple as dragging, dropping, and customizing.
Let’s walk you step by step through how to build a custom chatbot for your website without writing a single line of code. By the end, you’ll be ready to launch a chatbot that not only looks professional but also saves you time and boosts conversions.
What a Chatbot Can Do for Your Website
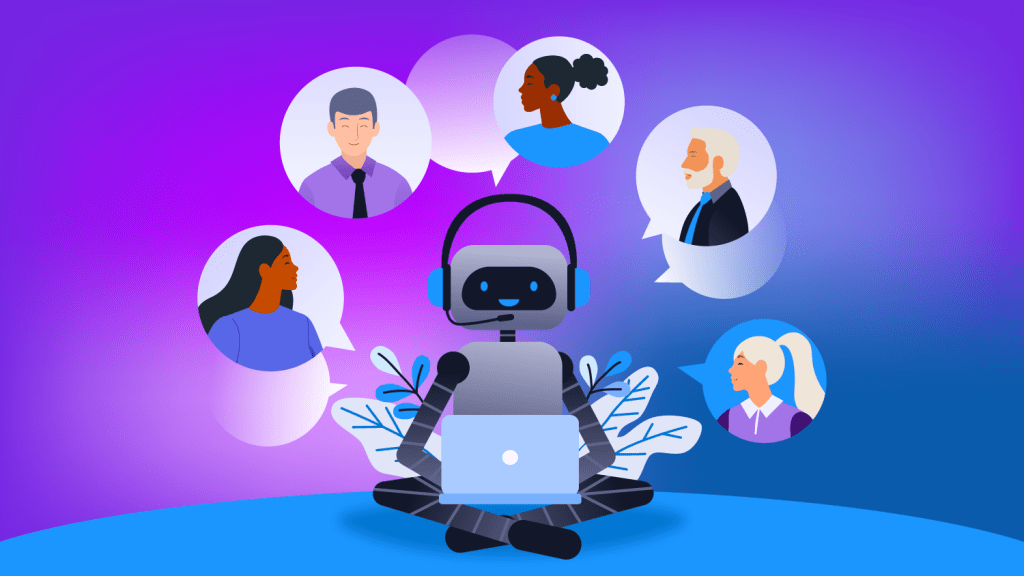
A chatbot isn’t just a cute widget, it’s a 24/7 employee that works without breaks, coffee, or complaints. Here’s what it can do for you:
- Answer FAQs instantly: No more lost leads because someone couldn’t find your return policy.
- Collect leads and emails: Smart chatbots can gather visitor info and sync it to your email list or CRM.
- Improve customer experience: Quick answers = happy visitors = higher trust.
- Save time and reduce costs: Instead of hiring a full support team, your chatbot can handle routine queries.
Even a basic chatbot that answers your top 10 FAQs can drastically reduce support requests.
Choosing the Right No-Code Chatbot Builder
The chatbot platform you pick is like laying the foundation of your “chatbot house.” Get it right, and everything else, features, integrations, and performance, will be easier to build on.
The best tool for you depends on your business size, industry, and where you want the chatbot to live (your website, social media, or both).
Popular No-Code Chatbot Builders to Consider

When starting out, there are a few industry standard chatbot builders that you should go for, some of them are:
- Tidio – A great option for small businesses. It combines live chat with AI-powered automation and integrates seamlessly with Shopify, WordPress, and Wix. Perfect if you run an online store or service-based site.
- Landbot – Known for its drag-and-drop interface. Landbot is ideal if you want to create customized, interactive conversational flows without touching a line of code. It’s especially strong for lead generation and onboarding.
- ManyChat – Best for social media-first businesses. It connects easily with Facebook Messenger, Instagram DMs, and WhatsApp, making it a go-to choice for ecommerce brands and creators who sell directly through social channels.
- Botsonic / Chatbase – AI-driven chatbot builders where you can upload or connect your website content, FAQs, or knowledge base. The bot then learns from this material and provides context-aware answers. Great for businesses with lots of documentation.
- Adobe Firefly + Canva AI – Lighter options that work well for content-focused websites or creative businesses. They’re not as advanced in conversation handling but integrate nicely with visual tools and marketing workflows.
What You Should Look For When Choosing a Builder
The general criteria you need to follow when choosing a chatbot for you website or online store are:
- Ease of Use – Look for drag-and-drop interfaces or pre-built templates that save you hours of setup time.
- Integrations – The chatbot should connect to your email marketing tools, CRM, or eCommerce platform so leads and data flow seamlessly into your existing systems.
- AI Features – Advanced chatbots use GPT-based replies, natural language processing, and custom training, making them more conversational and useful over time.
- Pricing & Scalability – Many platforms have free tiers, but as your traffic and needs grow, you’ll want something affordable yet scalable without surprise costs.
Example in Action
A local fitness studio starts with Tidio on their WordPress site to answer FAQs like class schedules and membership pricing.
As their business grows, they add ManyChat to connect with Instagram followers and handle direct booking inquiries.
By gradually layering in different chatbot tools, they meet their customers where they already spend time, without overwhelming their small team.
If you’re just getting started, Tidio or Landbot are beginner-friendly picks that let you experiment quickly. Once you see results, you can explore AI-powered platforms like Chatbase for deeper customization.
Step 1: Defining Your Chatbot’s Purpose
Before you dive into building, take a step back and clearly define what role your chatbot will play.
Think of it like hiring a new employee, you wouldn’t hire someone without knowing their job description. The same goes for your chatbot: the more specific its purpose, the better it will perform.
Some common chatbot purposes include:
- Customer Support – Automating responses to frequently asked questions, helping with return policies, or providing quick troubleshooting steps. This reduces the workload on your human team while giving customers instant answers.
- Lead Generation – Collecting visitor emails, phone numbers, or other contact information in a conversational way. Chatbots can qualify leads by asking the right questions before passing them to sales.
- Sales Assistant – Acting as a digital sales rep by recommending products, guiding users through options, or suggesting add-ons and upgrades. This works especially well in ecommerce.
- Engagement – Going beyond problem-solving to actively interact with visitors. A chatbot can share blog articles, run mini quizzes, book appointments, or even provide personalized content suggestions.
Example in Action
Imagine a small online bookstore. Instead of overwhelming the chatbot with multiple roles, they define its purpose as “helping customers find the right book.”
The chatbot asks questions about genre and interests, then recommends titles from their inventory.
Once this purpose is nailed down and working smoothly, they can later expand the bot’s capabilities to handle FAQs or upsell related products.
Don’t try to make your chatbot do everything from the start. Begin with one clear, measurable goal, like reducing support emails by 30% or collecting 50 leads per month.
Once the bot proves effective in that area, you can gradually expand its scope without confusing users or overwhelming your team.
ALSO READ: How to Turn AI-Powered Services Into a Freelance Business in 30 Days
Step 2: Designing Your Chatbot Flow Without Coding
This is where no-code chatbot builders really shine. Instead of writing complex code, most platforms give you a visual drag-and-drop editor where you can design conversations just like building blocks.
You simply map out how a user might interact with your bot and connect the steps in a logical, user-friendly way.
Key Elements to Include in Your Chatbot Flow
All or most of these elements could really go far for your website and of course, your business.
- Start with a Friendly Greeting – First impressions matter. A simple message like “Hi! Welcome to [Your Business]. How can I help you today?” sets the tone and makes the interaction feel personal.
- Quick Reply Buttons – Instead of forcing users to type everything, offer clickable options such as “Track My Order,” “View Pricing,” or “Talk to a Human.” This keeps the flow simple and prevents frustration.
- Map Common Paths – Think about your top 5–10 customer questions and create conversation paths for each. This way, the chatbot is prepared for the majority of interactions.
- Natural Transitions – Guide users smoothly from one step to the next. For example, after showing pricing info, ask if they’d like a discount code or to schedule a quick call.
Example Flow in Action
This is just a simple example of how a chatbot flow chat with a potential client/customer on your website can go:
- Greeting – “Hi there! I’m here to help. What would you like to do today?”
- Options – [Track My Order] [Pricing Info] [Talk to a Human]
- User Selects “Pricing Info” – Bot shows a clear pricing table.
- Next Step – “Would you like to book a free consultation to learn which plan is best for you?”
- User Response – If Yes, chatbot schedules a call; if No, chatbot offers to send pricing details via email.
It could be more complicated or less, depending on a host of factors.
Best Practices for Smooth Flows
- Keep messages short and conversational. Nobody wants to read robotic, five-paragraph responses.
- Add a human handoff option for complex queries. A simple “Talk to a Human” button builds trust.
- Use conditional logic where needed (e.g., different answers for new vs. returning customers).
- Test your flows by role-playing as a customer. This helps spot confusing steps before launch.
Start with just one or two flows (like FAQs and pricing). Once your chatbot is working smoothly, expand its paths gradually. This keeps the experience clean and avoids overwhelming both you and your users.
Step 3: Adding AI Power to Your Chatbot
Rule-based chatbots are great for guiding users through simple menus, but they can feel limited.
This is where AI comes in, it adds flexibility, intelligence, and the ability to handle more complex conversations.
Think of it as upgrading your chatbot from a script reader to a real virtual assistant.
What AI-Powered Chatbots Can Do
Some of the capabilities of these AI chatbots includes but are not limited to the following:
- Understand Natural Language – Instead of relying on exact keyword matches, AI bots grasp the meaning behind user input. Whether someone types “Do you ship to Canada?” or just “Canada shipping?”, the bot understands both and provides the right answer.
- Learn from Your Data – You can train AI bots by uploading your FAQs, documents, or even your entire website content. The chatbot then uses this knowledge base to give detailed, accurate responses tailored to your business.
- Provide Dynamic, Human-Like Replies – Instead of rigid, pre-written scripts, AI chatbots generate responses that feel more natural, adapting to the flow of the conversation. This makes interactions smoother and less robotic.
- Handle Unexpected Questions – Unlike rule-based bots that get stuck if someone goes off-script, AI bots can interpret unusual queries and still offer useful answers.
Popular AI Chatbot Tools to Try
Nowadays, there are lots of tools to help you out with adding an AI touch to your chatbot, below are some of the recommended few for beginners.
- Chatbase and Botsonic – Upload your website content and FAQs, and the bot will answer as if it’s an expert on your brand.
- ManyChat with AI Integrations – Great for social channels like Facebook and Instagram, enhanced with AI responses.
- Custom GPT Bots – Some no-code platforms now let you build bots powered directly by GPT, fine-tuned to your business needs.
Best Practice: Hybrid Approach
AI doesn’t mean you should ditch buttons or simple flows. In fact, the best chatbots combine structured options (like “Track My Order” buttons) with AI-powered flexibility.
This way, users who like quick clicks get a fast experience, while those with unique questions still get intelligent answers.
Start by training your AI bot with your top 20 FAQs or your “Help Center” articles. This ensures the bot gives accurate, brand-consistent answers right from the start. You can always expand its knowledge later.
ALSO READ: Don’t Let AI Outgrow You: How to Stay Relevant in the Age of Automation
Step 4: Customizing Look and Feel
A chatbot isn’t just a functional tool, it’s also part of your brand experience. If it looks generic or feels out of place, visitors may ignore it.
Customization helps your bot blend seamlessly into your site while reinforcing your brand’s personality.
Key areas to customize:
- Colors & Fonts – Match your website’s branding so the bot feels like a natural extension of your site, not a third-party add-on. For example, if your brand uses soft blues and modern sans-serif fonts, your chatbot should reflect the same palette and style.
- Avatar – A visual cue makes your chatbot feel more approachable. This could be your company logo, a brand mascot, or even a friendly character icon. For professional industries (like finance or law), a simple, clean avatar works best. For more playful brands, a mascot or illustrated character can add personality.
- Tone of Voice – Decide how your chatbot “speaks.” Will it be warm and conversational (“Hey there! Need help finding something?”), or professional and efficient (“Hello. How may I assist you today?”)? Your tone should reflect how you normally communicate with customers. Consistency builds trust.
Another important customization factor is the location/placement of the chatbot on your website:
- Floating Bubble (Bottom Right) – This is the most common placement and feels familiar to users. It ensures your chatbot is always visible without interrupting the browsing experience.
- Embedded Widget – Works well on contact pages, pricing pages, or help centers where people expect support. It can be styled like a FAQ section but with interactive responses.
- Pop-Up Style – Some businesses use chatbots as lead-capture pop-ups (e.g., “Want a discount code? Chat with me!”). Just be careful not to overwhelm visitors with too many prompts.
Some extra touches that really makes a difference and make your bot stand out:
- Personalized Greetings – Instead of a bland “Hi, how can I help?” use context-aware greetings like “Welcome back, looking for new arrivals?”
- Custom Button Styles – Change the shapes and colors of quick reply buttons to match your site’s design.
- Branded Loading Animations – Even small details, like a typing indicator styled in your brand colors, add polish.
Treat your chatbot like another page on your website, it should look, feel, and sound like you. That way, customers never feel like they’re being passed off to a third-party tool.
Step 5: Deploying Your Chatbot on Your Website
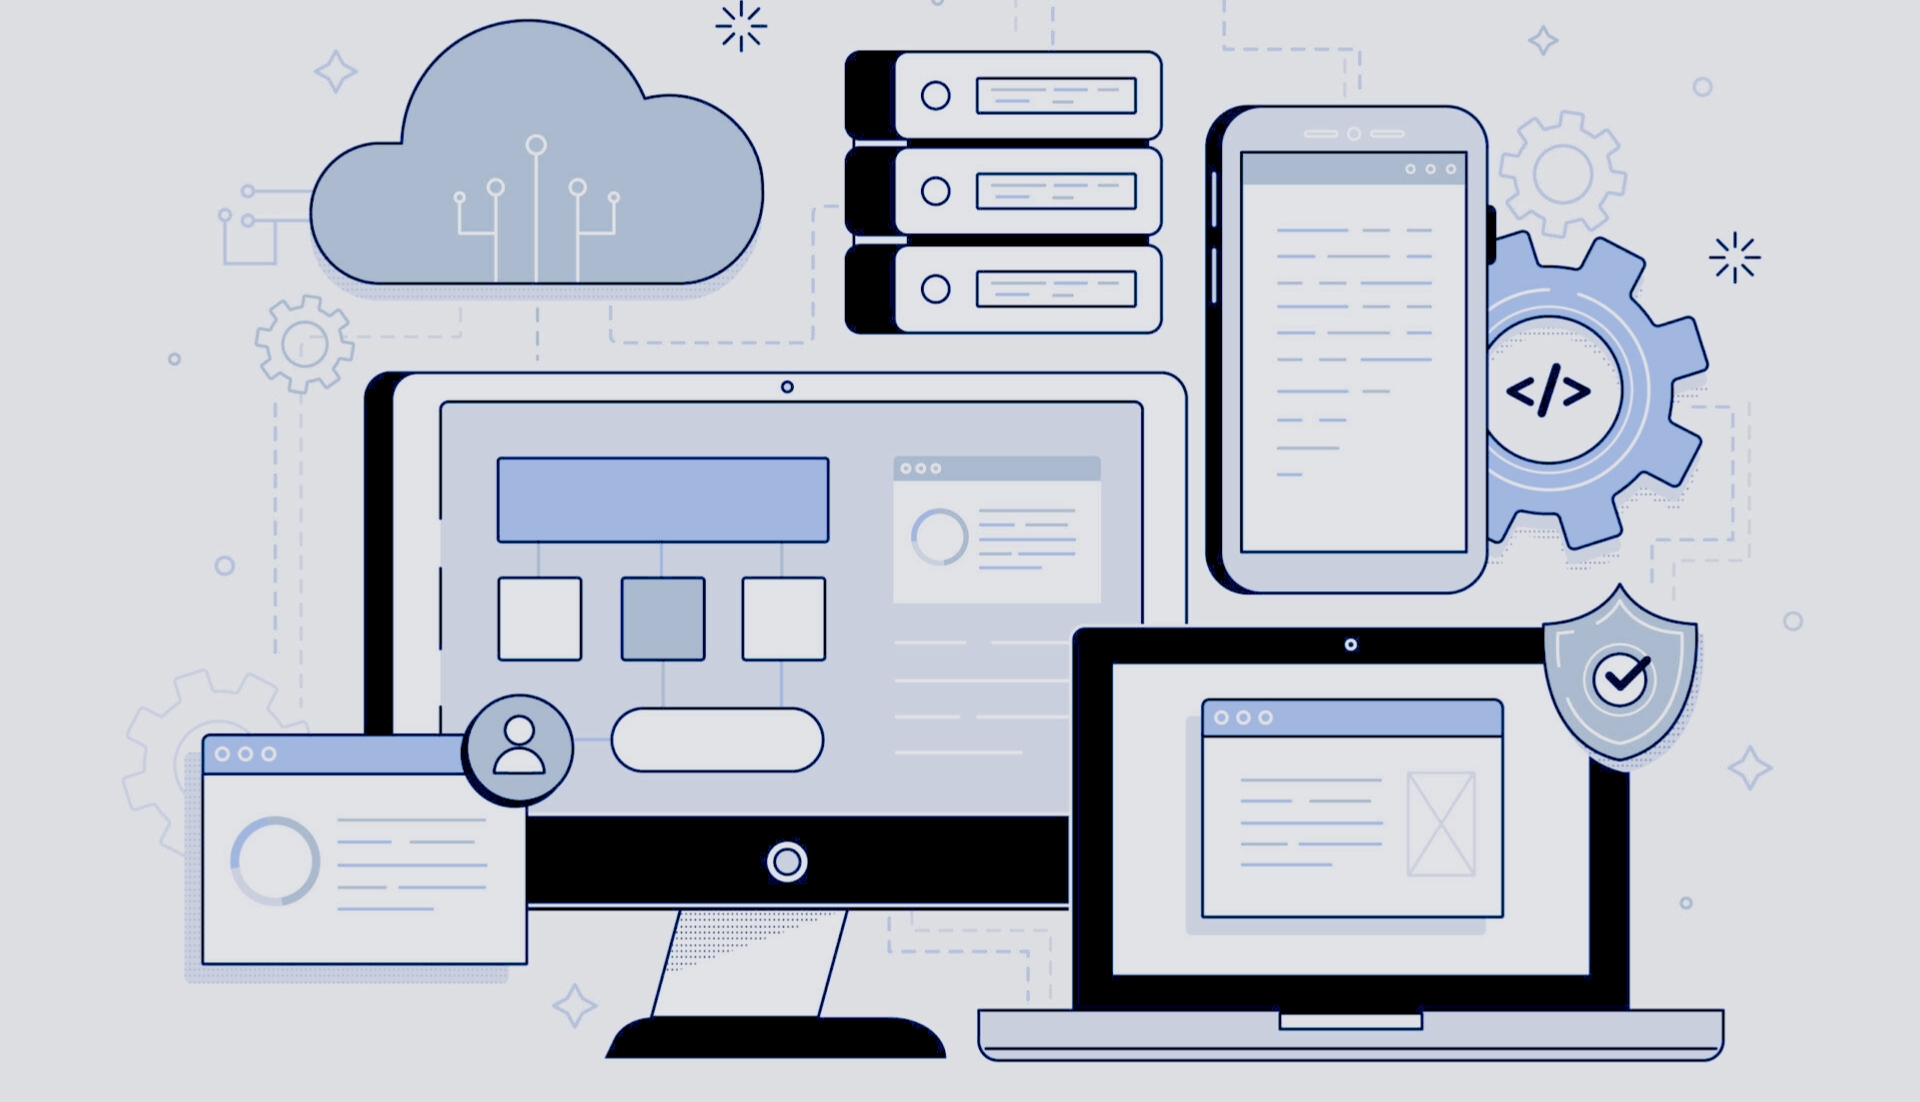
Once your chatbot is built and customized, the next step is bringing it to life on your site. Deployment is usually straightforward, but a little care upfront ensures a smooth experience for your visitors.
How to add it to your website:
- WordPress / Wix / Shopify – Most popular site builders offer plug-and-play integrations. You can usually install a plugin or paste a one-line embed code, and your chatbot will appear instantly. No developer required.
- Custom Websites – If your site is custom-built, deployment is still simple. Copy the script provided by your chatbot platform and paste it into your site’s <head> tag. From there, you can choose which pages it appears on (e.g., site-wide, only on your support page, or just on your checkout page).
Make Sure It’s Mobile-Friendly
Over half of web traffic comes from smartphones, so your chatbot must look and function well on small screens.
Check that it doesn’t block navigation menus, call-to-action buttons, or checkout forms. A poorly placed chatbot bubble can frustrate mobile users instead of helping them.
Test Before You Launch
Don’t just hit “publish” and walk away. Pretend you’re a first-time visitor and interact with your bot:
- Ask both obvious and random questions to test its responses.
- Click through the entire flow (greetings, buttons, AI replies).
- Check for typos, broken links, or confusing loops.
- Test on multiple devices (desktop, tablet, mobile) and browsers.
Do a soft launch. Let a few team members, friends, or loyal customers test the bot first and share feedback. Fix any issues before rolling it out to everyone.
Step 6: Connecting Your Chatbot to Business Tools
The real power of a chatbot comes when it works seamlessly with the other tools you already use.
Integrations turn your bot from a simple FAQ responder into a fully automated business assistant, saving time and reducing manual work.
Key integrations to consider:
- Email Marketing – Automatically capture leads from your chatbot and sync them to platforms like Mailchimp, ConvertKit, or ActiveCampaign. This ensures new subscribers enter your funnels instantly without manual data entry.
- CRM Systems – Feed conversations, contact info, and lead scores directly into CRMs like HubSpot, Salesforce, or Zoho. This keeps your sales and support teams aligned and allows for better follow-up.
- Calendars & Booking Tools – Let users schedule appointments directly in chat. Integrations with Google Calendar, Calendly, or Acuity eliminate back-and-forth emails.
- Payment Gateways – For eCommerce or service businesses, bots can accept payments or deposits via Stripe, PayPal, or Shopify checkout links, keeping transactions smooth and convenient.
Example in Action
Imagine a visitor asks about booking a consultation. Instead of giving instructions, your chatbot checks your calendar in real time and offers available slots.
The user picks one, the bot confirms, sends a calendar invite, and even collects a deposit payment, all automatically. No emails, no phone calls, no manual scheduling.
Step 7: Tracking and Optimizing Your Chatbot
![]()
A chatbot is never truly “finished.” Even after launching, it requires continuous monitoring and fine-tuning to ensure it’s providing value and delivering a smooth user experience.
Optimizing your bot over time turns it from a basic assistant into a high-performing tool that drives engagement, conversions, and customer satisfaction.
Key Metrics to Track
Some of the key metrics that you need to follow keenly are:
- Engagement Rate – How many visitors actually interact with your chatbot? Low engagement may indicate that your greeting isn’t compelling, the placement is off, or users don’t realize the bot can help them.
- Conversion Rate – How many users complete a desired action, such as submitting a lead form, booking a call, or making a purchase? Conversion metrics reveal how effectively your chatbot supports your business goals.
- Response Accuracy – Is the bot answering questions correctly? Track when users abandon conversations or repeatedly ask the same question, which can indicate that the bot needs better training or updated data.
- Drop-Off Points – Identify where users exit the conversation. Long or confusing flows, unclear options, or slow responses often cause abandonment.
Common Mistakes To Avoid

If you’re just starting out, you’ll definitely be prone to a few mistakes which are now common for more experienced webmasters. Some of these mistakes are:
- Overcomplicating Flows – Long, convoluted conversation paths frustrate users. Keep your interactions concise and goal-oriented.
- Making Replies Too Robotic – Even AI-generated responses can feel cold if they’re overly formal or generic. Aim for a natural tone that reflects your brand’s personality.
- Not Offering Human Support – Always include a clear option to connect with a human for questions the bot cannot handle. This builds trust and prevents customer frustration.
Best Practices for Ongoing Optimization
- Iterate Often – Regularly update FAQs, improve response accuracy, and refine conversation paths based on real interactions.
- A/B Test Messages – Experiment with different greetings, button labels, and AI responses to see which versions drive the highest engagement and conversions.
- Monitor User Feedback – Encourage users to rate their experience or leave comments. Direct feedback often highlights issues analytics alone cannot capture.
- Leverage AI Learning – For AI-powered bots, retrain the model periodically with new content, documents, or commonly asked questions to improve understanding and relevance.
- Analyze Performance Reports – Many chatbot platforms provide dashboards that track metrics over time. Use these insights to prioritize improvements and spot trends.
Example in Action
A boutique online shop notices that many visitors click the “Track My Order” button but abandon the conversation midway.
By simplifying the flow, clarifying instructions, and adding a human handoff option, engagement and successful order-tracking interactions increase significantly.
This reduces repetitive support requests and improves customer satisfaction.
ALSO READ: Stop Chasing Clients: Use These AI Tools to Build Passive Income Streams
Best Practices for a User-Friendly Chatbot
A well-designed chatbot isn’t just functional, it’s also pleasant and intuitive to interact with. Following a few best practices ensures your bot feels helpful, approachable, and aligned with your brand.
Keep It Short and Clear
Users skim rather than read. Limit responses to one or two sentences whenever possible. Break information into small chunks or bullet points.
For example, instead of:
“Hello! I’m your virtual assistant. I can help you track orders, answer your questions about our return policy, or provide recommendations on products you might like.”
Try:
“Hi! I can help you track orders, answer FAQs, or suggest products.”
Shorter messages are easier to read and more engaging.
Offer Escape Routes
Always give users a way to reach a human, especially for complex or sensitive questions. A simple button like “Talk to a Human” reassures users and prevents frustration.
This is particularly important for eCommerce, finance, or support-heavy industries.
Set Expectations
Be upfront about what the chatbot can and cannot do.
A friendly message like:
“I’m a virtual assistant here to help with orders and FAQs. For anything else, a human agent will assist you!”
manages user expectations and prevents disappointment.
Make It Sound Human, Not Robotic
Inject personality into your bot! Use a casual tone, friendly language, or even light humor if it fits your brand.
Subtle touches, like emojis or conversational phrases, can make interactions more enjoyable and memorable.
For example:
“Got it! Your order is on its way. Want me to track it for you?”
Balance personality with professionalism based on your audience.
Extra tips for a smooth user experience:
- Use Quick Replies – Predefined buttons help guide the conversation and reduce user typing.
- Be Context-Aware – If the bot can remember previous interactions, it makes conversations feel more personalized.
- Avoid Overloading Options – Present two to four choices per step. Too many buttons overwhelm users.
- Test With Real Users – Observe how actual visitors interact with your bot. Adjust tone, flow, and phrasing based on feedback.
Think of your chatbot as the digital face of your brand. When it’s clear, helpful, and personable, users are more likely to engage, trust your business, and return in the future.
Conclusion
Building a chatbot might sound technical, but with today’s AI-powered no-code tools, it’s easier than ever. Whether you’re a small business owner, freelancer, or blogger, adding a chatbot to your site can boost engagement, save time, and even increase sales.
The best part? You can build and launch one in just a couple of hours , no coding required.
So don’t wait. Pick a tool, follow the steps, and give your visitors the instant support they deserve.