
Animation has always been one of the most powerful ways to tell stories, explain complex ideas, or capture attention online. But for decades, it required expensive software, skilled animators, and countless hours of work.
That has changed.
With the rise of AI tools, anyone, yes, even you, can create high-quality animated videos without hiring a team or learning advanced editing. Whether you want to start a YouTube channel, create marketing videos for your business, or just bring your creative ideas to life, AI can help you do it in a fraction of the time and cost.
In this guide, I’ll walk you through a step-by-step process to create a full animated video using only AI tools. By the end, you’ll know exactly what tools to use, how to connect them together, and how to produce a polished final product that looks like it came from a professional studio.
What You Need Before You Start
Before diving in, let’s make sure you have the basics covered.
- A computer/laptop – Ideally with decent processing power, though most AI tools now run on the cloud, so you don’t need a supercomputer.
- Stable internet connection – Most AI tools require cloud-based rendering, which can take time.
- Free or paid AI tools – Many tools on this list have free plans, but paid versions unlock better quality and fewer limits.
- Patience & creativity – AI helps speed things up, but you still need to guide it carefully.
Don’t expect Hollywood-level animation right away. The beauty of AI is that you can start small, learn fast, and gradually scale your skills.
Step 1: Writing Your Script with AI
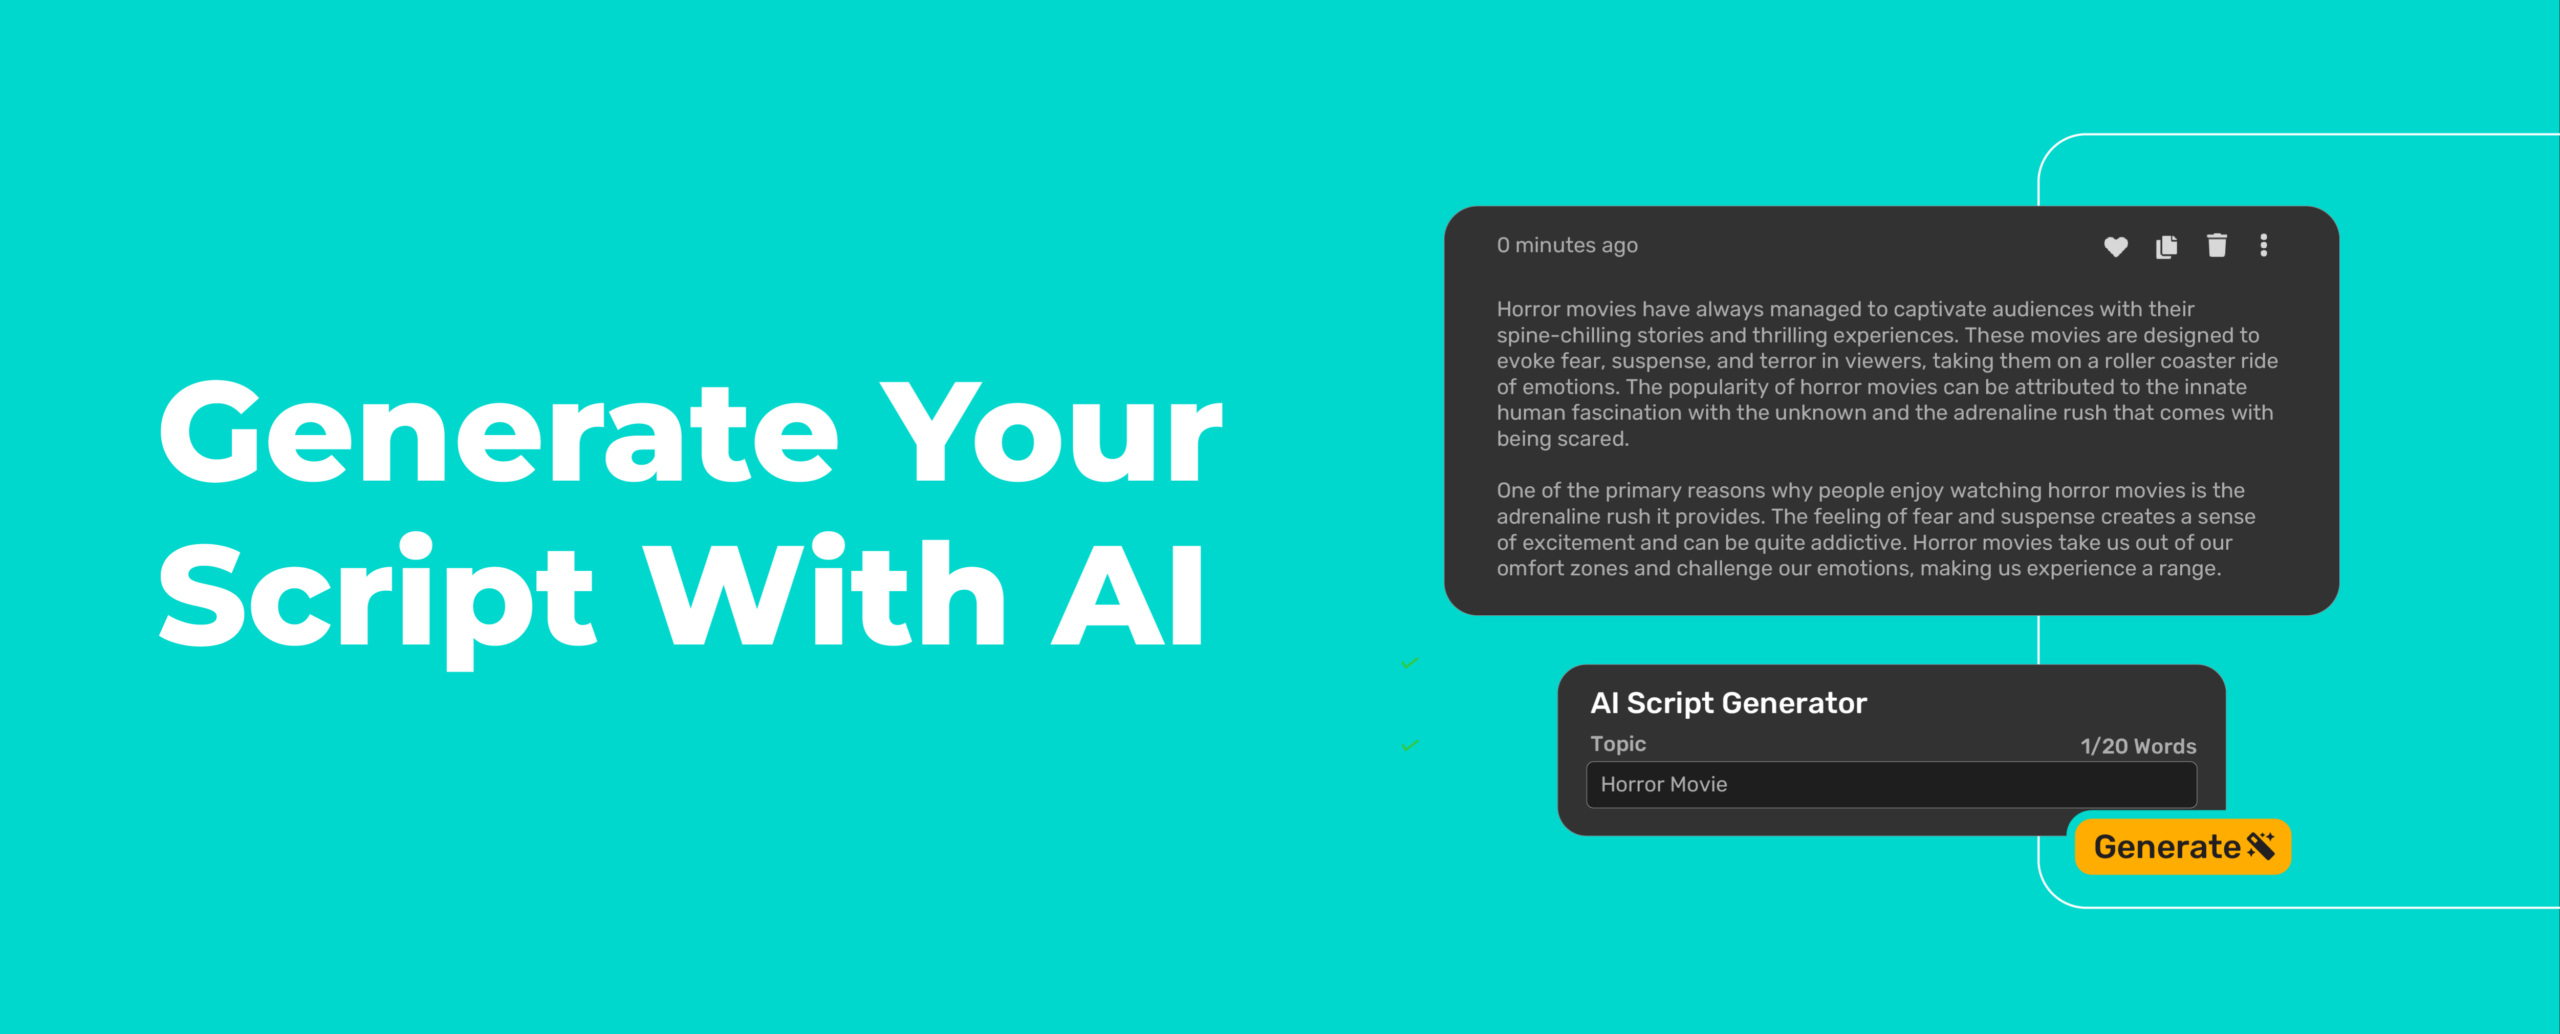 Every great animated video starts with a story. Animation can capture attention, but without a solid script, even the flashiest visuals won’t stick. The script is what gives your video structure, direction, and personality, it’s the backbone of everything that follows.
Why is Scriptwriting Important
I can list a lot of reasons, but when it comes to scriptwriting, you should keep the following in mind:
- Focus – A good script keeps your message clear and prevents your video from wandering off-track.
- Planning – It helps you map out scenes, decide where voiceovers fit, and figure out timing.
- Editing Ease – With a script, you’ll spend less time cutting and rearranging later, it’s like having a blueprint before building.
Tools You Can Use
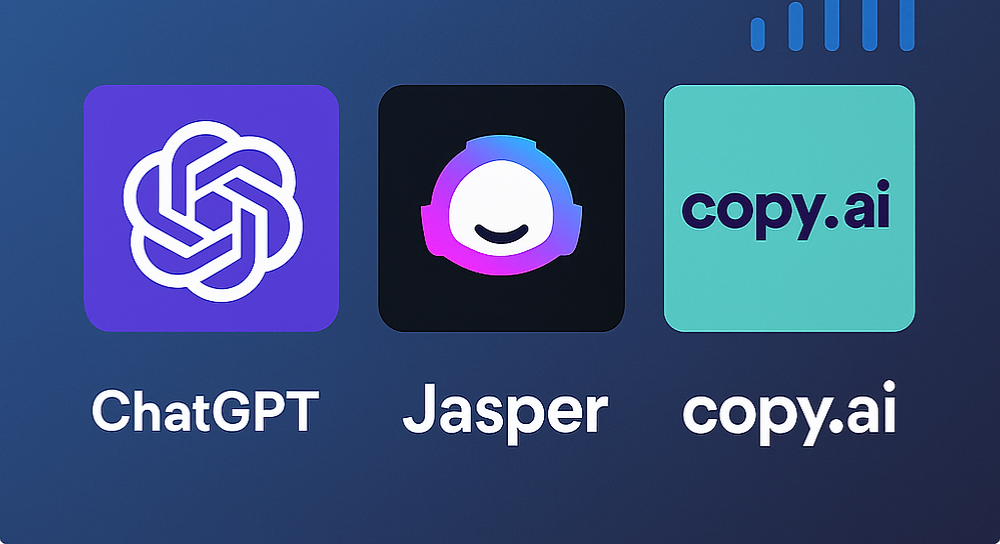 The gold standard for text generators would suffice for this part. The best tools for writing a script remains:
- ChatGPT – Perfect for brainstorming, outlining, and drafting polished scripts in any tone.
- Jasper AI – Tailored toward marketing, ads, and conversion-focused content.
- Copy.ai – Great for quick, snappy explainer scripts that get the message across fast.
Example Prompt
“Write me a 2-minute animated script about how small businesses can use AI to save time. Make it friendly, fun, and easy to understand.” You’ll have a draft with a hook, flow, and closing message ready in only a few minutes. From there, you can tweak the script to fit your unique brand voice, whether that’s professional, casual, or playful. Treat the AI’s draft as your first version, not your final one. The magic happens when you layer in your personal style, examples, or humor to make it feel authentic.
Step 2: Creating a Storyboard (AI-Powered)
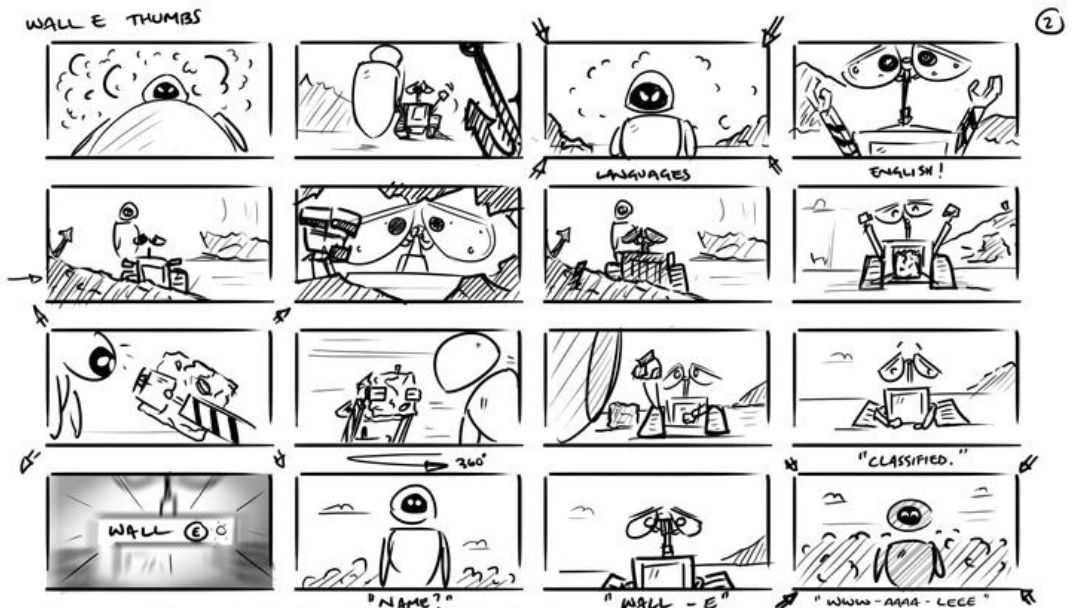 Once your script is ready, the next step is turning words into visuals. That’s where a storyboard comes in. Think of it as your video’s blueprint, a frame-by-frame sketch that maps out exactly how your animation will flow. Traditionally, storyboards required drawing skills, but with AI, you can create them in minutes, no artistic talent required.
Why Do You Need a Storyboard
A storyboard is important for a number of reasons, especially the ones below:
- Scene Breakdown – It transforms your script into bite-sized scenes, so you know what happens visually at each step.
- Visual Direction – Lets you imagine camera angles, transitions, and pacing before production starts.
- Fewer Mistakes Later – A clear plan saves tons of editing time and prevents “Wait, what goes here?” moments.
Tools to Try
- Storyboard Hero – Converts your script into scene previews instantly.
- Canva AI – Great for quick sketches, simple layouts, and presentation-style storyboards.
- MidJourney or Stable Diffusion – Generate realistic or stylized mock scenes to visualize tone and setting.
Don’t stress about making your storyboard look perfect. It’s not meant to impress clients, it’s meant to guide you (and anyone helping you) through the animation process. Even rough AI-generated visuals are enough to clarify the flow of your video.
Step 3: Generating Characters with AI
Characters are the heartbeat of your animation. They’re what your audience connects with, remembers, and follows through the story. Thanks to AI, you no longer need to hire a professional illustrator to design them, now you can create unique, consistent, and engaging characters in minutes.
Tools You Can Use
 Although this is a very important phase, and you can use pretty much any proper text-to-image tool on the market. The ones below work excellently with character generation:
- MidJourney / Stable Diffusion – Perfect for generating custom character designs in any style (cartoon, anime, realistic, or even surreal).
- Character.ai – Goes beyond looks, builds AI-driven personalities that can generate dialogue and behavior.
- Artbreeder – Great for morphing and tweaking faces so your character looks consistent across multiple images.
Without consistent characters, animations feel disconnected. By using AI, you can lock in a look and reuse it across different scenes, emotions, and poses, just like professional animators do with reference models. Always use “reference sheets” when prompting. A reference sheet is basically a description (or a sample image) that ensures your character looks the same in every scene. For example, instead of typing just “a cartoon girl”, specify: “young girl, cartoon style, red jacket, short curly hair, bright smile, Pixar-style lighting.” This consistency makes your final animation feel polished and professional, even if it’s fully AI-generated.
Step 4: Designing Backgrounds & Scenes
 Every great story needs a stage. Whether your character is sitting in a cozy café, presenting in a modern office, or flying through outer space, the background sets the mood and context for your animation. With AI, you can whip up unique and professional-looking backdrops without needing to paint them yourself.
Tools to Try for Background Design
- DALL·E 3 – Super fast and flexible for generating a wide range of backgrounds, from simple interiors to surreal landscapes.
- Kittl – Perfect if you want editable, layered illustrations that you can tweak to match your brand or scene.
- Stable Diffusion – Great for producing more detailed, artistic, or stylized environments that really stand out.
Your background isn’t just “filler”, it shapes the tone of your video. A warm, illustrated office feels inviting, while a sleek, minimalist one feels professional. With AI, you can even create multiple variations of the same scene (day vs. night, clean vs. messy, realistic vs. cartoonish) to keep your story dynamic. Keep styles consistent. If your characters are cartoon-style, stick with cartoon backgrounds. A mismatch, like a bubbly 2D character standing in a hyper-realistic 3D office, breaks immersion and makes the video feel off.
Step 5: Adding Movement & Animation
 Here’s where your project truly comes to life. Characters and scenes are great on their own, but movement is what makes an animation feel engaging and real. Traditionally, this meant painstaking frame-by-frame drawing or complex rigging, but now AI can automate much of the heavy lifting, saving you hours while still producing smooth results.
Tools to Try
- Pika Labs – Quickly generate short animated clips straight from text or image prompts. Great for testing scenes and getting creative variations.
- Runway Gen-2 – Transforms text or still images into moving video, giving you cinematic-style motion with minimal effort.
- D-ID or HeyGen – Perfect for lip-sync and “talking head” animations, turning static faces into characters that can actually deliver your script.
Even small animations, like a character blinking, nodding, or shifting their weight, make the experience feel natural and less robotic. Adding gestures (pointing, waving, walking) keeps your audience visually hooked and helps emphasize your message.
What Your Workflow Should Look Like
- Import your AI-generated character.
- Add subtle movements first (blinks, expressions, head turns).
- Layer in bigger motions like walking, hand gestures, or lip-sync.
- Sync everything to your script and audio for a seamless flow.
Note that sometimes, less is often more. Over-animating can feel distracting, while small, intentional movements keep things polished and professional.
Step 6: Generating Voiceovers with AI
 Voiceovers are what give your characters personality and emotion. Without a voice, even the best-designed animation can feel flat. Traditionally, this meant hiring voice actors or recording yourself, but now, AI voice tools make the process faster, cheaper, and surprisingly realistic.
Tools You Can Use
- ElevenLabs – Known for ultra-natural voices that can express tone, pitch, and subtle emotion.
- Murf.ai – Excellent for professional, business-style narrations like corporate explainers or training videos.
- Play.ht – Supports multiple languages and accents, making it perfect for global content or localization.
The voice you choose sets the mood for your video. A warm, friendly voice makes content feel approachable. A deep, calm tone builds authority. And a playful, high-energy style can instantly grab kids’ attention. Match the voice to your story and audience.
- For kids’ content: Choose playful, energetic tones with varied expressions.
- For corporate explainers: Use calm, confident, and authoritative narration.
- For personal or storytelling content: Try cloning your own voice (many tools offer this feature) for authenticity.
Pacing is just as important as tone. A rushed voiceover can overwhelm viewers, while a slow one can make even exciting topics feel dull. Aim for a natural rhythm that matches your visuals.
Step 7: Editing & Syncing Everything Together
 This is the stage where all your hard work comes together. You’ve got your script, characters, backgrounds, and voiceovers, now it’s time to assemble everything into a smooth, engaging video. Editing is where you transform separate pieces into a cohesive story.
Tools to Try
- Descript – Edit your video just like editing a Word document. Perfect for cutting mistakes, rearranging scenes, or fixing voiceovers.
- CapCut AI – A beginner-friendly drag-and-drop editor packed with AI-powered effects, transitions, and captions.
- Runway – A full AI-powered editing suite with advanced tools for trimming, syncing, and adding special effects.
Key Tasks to Focus On
- Sync voiceovers with lip-sync animations so your characters look natural when speaking.
- Add transitions between scenes to keep the flow smooth and professional.
- Insert AI-generated sound effects and background music (tools like Soundraw or Aiva work great here) to create atmosphere and enhance storytelling.
- Fine-tune timing, make sure each scene has the right pacing so it doesn’t feel rushed or dragged out.
Less is more. Overloading your video with flashy effects can distract from your message. Aim for clean edits, consistent pacing, and seamless audio-visual alignment.
Step 8: Polishing Your Final Video
 Even with the best AI tools, raw outputs can sometimes feel unfinished. Polishing is the final touch that transforms your project from “AI-generated” to professional and ready-to-publish. Think of it as the difference between a rough draft and a finished masterpiece.
Steps to Polish Your Video
- Enhance resolution – Use tools like Topaz Video Enhance AI to upscale and sharpen your video. This is especially useful if your footage looks slightly soft or pixelated.
- Adjust color grading – Consistent colors and tones across all scenes give your video a cinematic, polished feel. A quick tweak in brightness, contrast, and saturation can make a huge difference.
- Trim excess content – Cut out awkward pauses, filler moments, or unnecessary sections. This keeps your pacing tight and your viewers engaged.
- Add subtle finishing touches – Things like background blur, smooth transitions, or branded lower-thirds (text overlays) can elevate the final product.
- Export in the right format – For most platforms, MP4 in 1080p or 4K is ideal. Higher resolutions look sharper and future-proof your content.
Before you hit “publish,” watch your video all the way through, ideally on both desktop and mobile. Sometimes small errors (like misaligned text or awkward cuts) only show up once you view the full export. ALSO READ: How to Turn AI-Powered Services Into a Freelance Business in 30 Days
Step 9: Sharing & Monetizing Your AI Animation
 You’ve built your animation, now it’s time to let the world see it and maybe even turn it into income. Creating is only half the journey; sharing and monetizing is where your project starts paying off.
Where to Share Your Animated Videos
Obviously there are a ton of platforms out there like:
- YouTube – Perfect for tutorials, storytelling, or entertainment content. Long-form animations can gain traction and bring in consistent ad revenue.
- TikTok / Instagram Reels – Short, snappy clips thrive here. Great for teasers, highlight moments, or quick animated skits.
- LinkedIn – Ideal for professional explainers, business presentations, and brand-related animations.
- Vimeo or Portfolio Sites – A polished way to showcase your animations to potential clients.
How To Make Money With Your Animated Videos
Your choice on this would heavily rely on what you animate about and how you want to sell your service. Some monetization options are:
- YouTube Ad Revenue – Build an audience and earn from ads placed on your videos.
- Selling Animations to Clients – Businesses always need explainer videos, ads, or training animations.
- Creating Online Courses/Tutorials – Teach others how to make AI-powered animations and package your knowledge into a course.
- Licensing as Digital Assets – Sell your characters, scenes, or short animations as stock assets on marketplaces.
- Patreon or Membership Platforms – Offer exclusive animations, behind-the-scenes content, or tutorials for paying supporters.
Start with free, high-traffic platforms like YouTube, TikTok, or Instagram. Once you gain traction, repurpose your video across multiple channels, one animation can live as a full YouTube upload, a short TikTok teaser, a LinkedIn post, and even a course module.
Common Mistakes to Avoid
 Even with AI doing a lot of the heavy lifting, there are still plenty of traps that can make your final project look amateurish. Here are the most common ones, and how to sidestep them:
- Overloading prompts – The temptation is to throw every detail into your prompt (“a futuristic city skyline at night with neon signs, flying cars, cinematic, ultra-detailed, Pixar style, anime lighting, photorealistic”). Instead of helping, this often confuses the AI and produces messy results. Keep prompts clear, simple, and focused. Add details step by step rather than all at once.
- Ignoring editing – Raw AI outputs, whether video, audio, or images, often look or sound “robotic.” This doesn’t mean AI is bad, it just needs a human touch. Always polish your content with basic edits: smooth transitions, color adjustments, subtitles, or background tweaks. It’s the difference between “AI-generated” and “professional.”
- Mixing styles – Consistency is everything. A cartoon-style character walking through a hyper-realistic 3D background feels jarring. If you start with anime, stick with anime. If you’re going realistic, keep it realistic throughout. Think of your project like a brand, uniform style builds trust and looks polished.
- Skipping usage rights – This one’s huge. Not all AI tools allow commercial use on their free plans. Using AI-generated content without the right license could get your video flagged, taken down, or even land you in legal trouble. Always check usage rights, and when in doubt, upgrade to a paid plan to secure commercial usage.
Once again, AI is a tool, not a magic wand. The best results come from a balance of clear prompts, consistent styles, smart editing, and respecting licensing rules.
Conclusion
Creating an animated video used to take months, a team of experts, and expensive software. Thanks to AI, you can now do it in days (or even hours), all by yourself. Here’s a quick recap of the process:
- Write your script with AI.
- Turn it into a storyboard.
- Generate characters and backgrounds.
- Add motion with AI animation tools.
- Record voiceovers with AI voices.
- Edit, sync, and polish.
- Share and monetize.
The exciting part? You don’t need a Hollywood budget or professional training, just creativity, curiosity, and a willingness to experiment. So, what’s stopping you? Open up one of these tools today, start with a simple idea, and watch your imagination come to life on screen.